
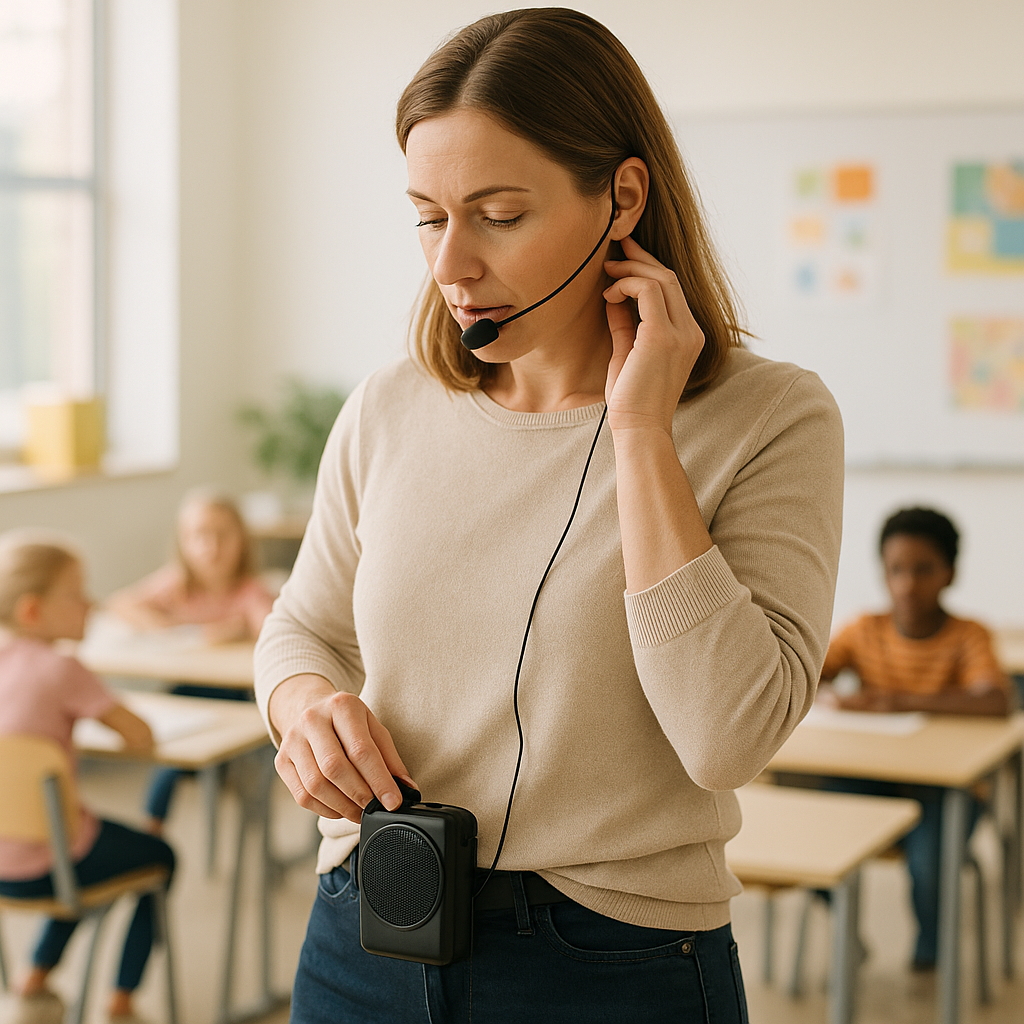
In classrooms, gyms, museums, and outdoor tour settings, distance and background noise can make even a strong voice hard to hear. A hands-free voice amplifier helps carry speech clearly without relying on shouting, which is why many teachers, coaches, guides, and presenters use personal voice amplification systems as part of their daily routine.
If you are setting up a ChatterVOX® portable voice amplifier for the first time, the process is straightforward. This guide walks through the basics so you can get comfortable quickly, protect your voice, and make sure every listener can hear you more easily.
ChatterVOX® has been trusted for over 25 years as the original portable voice amplifier brand, with practical systems designed for hands-free clarity, all-day rechargeable use, and dependable performance in real teaching, coaching, touring, and presentation environments. If you are comparing options, you can also explore the official ChatterVOX® portable voice amplifier collection.
What comes in the box
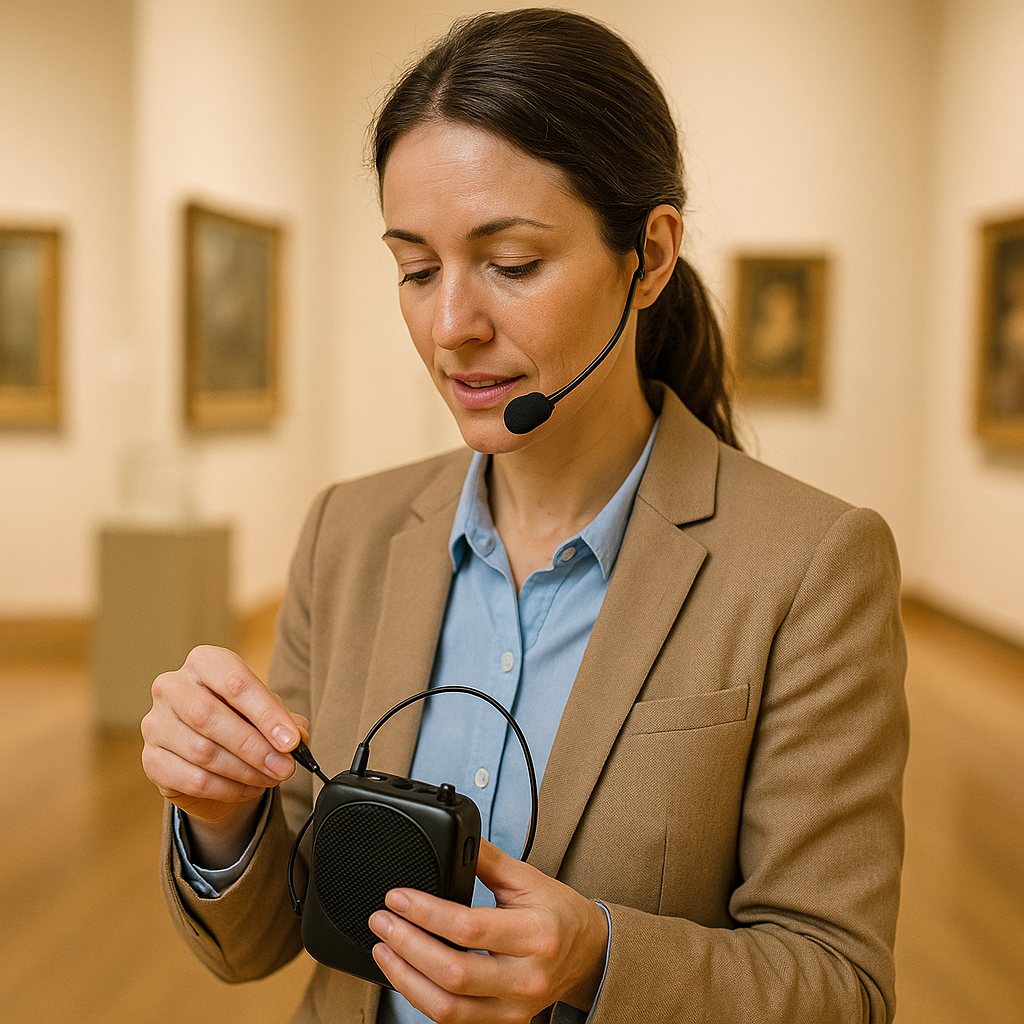
Before you power anything on, lay out all parts on a table and identify each piece. This makes setup faster and helps you spot how the system is meant to be worn.
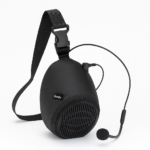
Your ChatterVOX® package will typically include the amplifier unit itself and a headset microphone or compatible microphone accessory, depending on the model. Some users may also have a charging cable or power accessory included with their system.
As you unpack, look for these essentials:
- The portable amplifier body
- The headset or microphone component
- The charging accessory
- Any belt clip, strap, or wearable attachment included with the unit
- Printed instructions, if provided
It is a good idea to inspect the headset band, microphone boom, ports, and controls before first use. Make sure connections feel secure and that nothing is twisted or forced into place.
If you purchased through the official store, you can feel more confident that you are getting an authentic system designed for ChatterVOX® compatibility and support. For current models, the ChatterVOX® shop is the best place to compare available options.
How to wear the headset and position the mic
Good microphone placement matters as much as the amplifier itself. Even a high-quality hands-free voice amplifier can sound weak, uneven, or noisy if the mic is too far away, rubbing against skin or clothing, or sitting directly in front of the mouth.
Start with a comfortable fit
Place the headset so it feels stable but not tight. The goal is comfort for extended use, especially for teachers, fitness instructors, coaches, and tour guides who may wear the system for long stretches.
When fitting the headset:
- Center the headband or ear support so it stays in place as you move
- Adjust gently rather than bending parts aggressively
- Route any cable so it does not pull on the headset
- Check that the amplifier can be clipped or worn securely for hands-free use
Position the microphone correctly
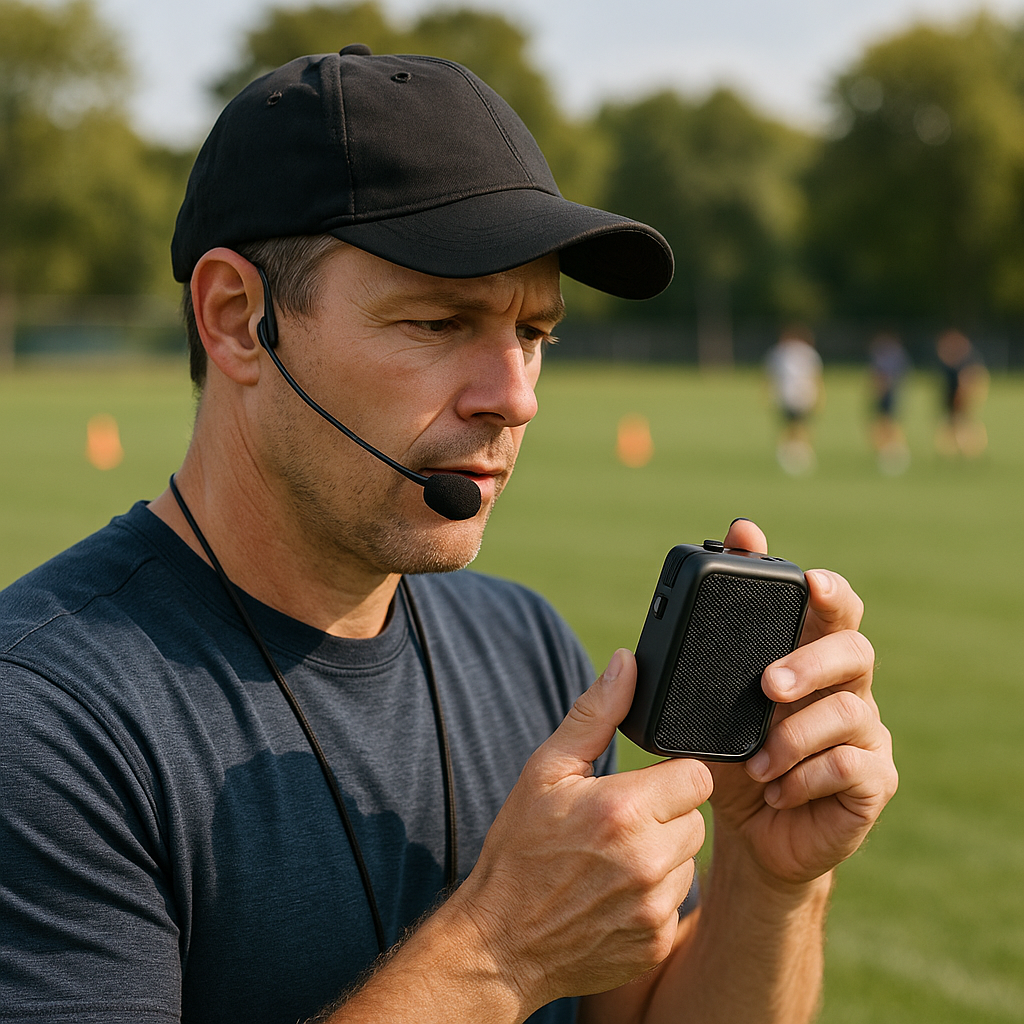
The microphone should usually sit near the corner of your mouth, not directly in front of it. This helps reduce breath noise and supports clearer, more distortion-free output.
A practical starting point is to place the mic just off to one side of the mouth, close enough to pick up natural speech but not so close that it catches heavy breathing or popping sounds on words with strong consonants.
After positioning it, say a few normal sentences in your everyday speaking voice. You should not need to raise your voice. ChatterVOX® systems are designed to support clear speech comfortably in classrooms, coaching fields, tours, museums, gyms, speech-language therapy settings, recovery support, and everyday life.
Check movement before you begin
Turn your head, look down, and walk a few steps. If the headset shifts, readjust before your session starts. A stable fit is especially important for active users such as trainers and coaches.
How to power on, charge, and test sound
Once the headset is fitted, the next step is making sure the amplifier has power and that your sound level is comfortable for both you and your audience.
Charge before first use
Rechargeable voice amplifiers work best when fully charged before the first session. If your unit arrives with some battery power, it may still be worth charging it fully so you start with a known baseline.
Before charging:
- Use the correct charging accessory for your model
- Place the unit somewhere stable and dry
- Avoid forcing connectors into the charging port
- Allow enough time for a full initial charge if recommended in your included instructions
One reason many professionals choose ChatterVOX® personal voice amplification systems is the convenience of rechargeable, all-day use. That matters in long school days, back-to-back tours, and extended coaching sessions.
Power on in a quiet space first
For your first test, start in a relatively quiet room. Connect the headset microphone securely, then power on the amplifier. Begin with the volume low.
Next, speak in a normal conversational tone and slowly raise the volume until your voice sounds clear and easy to hear across the room. The best setting is usually lower than first-time users expect. The goal is support and clarity, not excessive loudness.
Do a simple sound check
Use this quick test before class, practice, or a tour:
- Stand where you will normally speak.
- Face forward and say a few full sentences.
- Walk several steps while continuing to speak naturally.
- Listen for clarity, balance, and any harshness or feedback.
- Adjust mic position first, then volume if needed.
If possible, ask someone to stand at the back of the room or group and confirm that your speech sounds clear. This is especially useful in lecture rooms, multipurpose spaces, and outdoor settings where acoustics vary.
Users who want a compact option for everyday support may also want to review the ChatterVOX® Amplio portable voice amplifier to see how it fits lighter-duty or personal-use needs.
Common setup mistakes to avoid
Most first-use problems come from a few simple setup issues, not from the amplifier itself. Avoiding these mistakes can save time and help you get the clear, comfortable sound ChatterVOX® is known for.
Placing the mic directly in front of the mouth
This often causes breath noise and popping sounds. Keep the mic slightly off to the side near the corner of the mouth.
Turning the volume up too fast
Starting too loud can create harsh sound or feedback. Begin low and increase gradually while speaking naturally.
Speaking louder than necessary
A portable voice amplifier is there to reduce strain, not encourage pushing harder. Use your normal supported speaking voice and let the system do the work.
Ignoring headset comfort
If the headset is uncomfortable, users tend to reposition it constantly, which affects sound. Take a minute to fit it properly before your session begins.
Skipping a pre-session test
Room acoustics change from one space to another. A quick sound check is worth doing before students arrive, before a tour starts, or before a training session begins.
Using the wrong model for the setting
A small room, a large field, and a museum tour each place different demands on a voice system. Choosing the right ChatterVOX® model for room size, group size, and daily wear needs can make setup easier and performance more consistent.
Helpful reminder: voice amplification can be a gentle, supportive tool for people managing vocal fatigue, speech-language therapy routines, recovery periods, or voice conditions such as Parkinson’s or ALS, but it is not a medical device and does not replace professional medical advice.
When to choose a different ChatterVOX® model
Not every user needs the same amplifier. The best choice depends on where you speak, how long you wear the system, how much movement is involved, and how much output support you need.
Choose based on your environment
If you teach in a classroom, lead campus tours, coach outdoors, or present in changing spaces, think first about the size of the area and the number of listeners. A larger or noisier environment may call for a model designed for stronger projection and extended daily use.
For example:
- Teachers and professors often need dependable all-day classroom support
- Coaches and trainers may need a durable unit that stays comfortable while moving
- Tour guides and museum staff often benefit from clear speech reinforcement over ambient noise
- Group-fitness instructors need hands-free wear and stable mic placement during active sessions
- Speech-language therapy and recovery users may prefer a simple, supportive setup for everyday communication
Consider specific ChatterVOX® models
If you need a professional everyday teaching and presentation setup, the ChatterVOX® Pro w/ Headset Mic is a natural model to consider. Users in active sports and field settings may prefer the ChatterVOX® Model 6 Coaching Amplifier. For lighter personal amplification needs, ChatterVOX® Amplio may be the better fit.
The key is matching the system to your real use case rather than choosing only by appearance or price. That is especially important for school and AV buyers purchasing for staff who need reliable, authentic equipment.
To compare current options from the official source, browse the full ChatterVOX® voice amplifier lineup and look at which model best fits your room size, group size, and budget.
For a first-time setup, keep the process simple: charge the unit, fit the headset carefully, place the mic near the corner of your mouth, start with low volume, and test in the actual space where you will use it. Those few steps go a long way toward clear, comfortable communication without vocal strain.
If you are ready to choose the right system or replace an older unit with an authentic model, see ChatterVOX® voice amplifiers at SchoolPHONES®, the authorized education retailer for authentic ChatterVOX® systems.
FAQ
How close should the microphone be to my mouth?
Keep it close to the corner of your mouth, but not directly in front of your lips. That usually gives clearer sound and reduces breath noise.
Should I fully charge my amplifier before first use?
Yes. Starting with a full charge helps you test the system properly and gives you a better sense of normal daily battery performance.
Why does my voice sound too loud or harsh?
The volume may be set too high, or the mic may be too close or poorly positioned. Lower the volume first, then adjust the mic slightly to the side of your mouth.
Which ChatterVOX® model is best for coaching or outdoor use?
Users in active field settings often look at the ChatterVOX® Model 6 Coaching Amplifier, while classroom and presentation users may prefer the ChatterVOX® Pro w/ Headset Mic. The best choice depends on your environment and daily use.
Can a portable voice amplifier help reduce vocal strain?
Many people use a portable voice amplifier to support clearer communication without needing to push their voice as much. It can be a practical tool for everyday speaking support, but it is not medical treatment or a substitute for professional advice.



Leave a Reply