
A ChatterVOX® voice amplifier is the kind of product that tends to stick around. Teachers hand units down to colleagues, tour guides carry the same amplifier through thousands of tours, and speech-language pathologists still see systems in daily use many years after purchase. That longevity is not an accident — it is the design philosophy. Since 1998, ChatterVOX® systems have been built around replaceable batteries, serviceable microphones, genuine replacement parts, and a real, US-based service center you can call when something needs attention.
This is the official care guide from chattervox.store, the official online home of ChatterVOX®. Whether you searched for a ChatterVox battery replacement, a charger, a new microphone, warranty details, or the manual, everything you need is below: how the batteries work and when to replace them, charging habits that stretch battery life, microphone care and positioning, how to tell genuine parts from look-alikes, exactly what the warranty covers, and who to contact for parts and service.
Designed to Be Maintained, Not Thrown Away
Most inexpensive voice amplifiers sold online are, for all practical purposes, disposable. They are built as sealed units: when the internal battery fades or the thin microphone cable frays, there is no meaningful path to repair — no replacement parts catalog, no service line, no one to ask. The device that seemed like a bargain becomes e-waste, and you start shopping again.
ChatterVOX took the opposite approach from the beginning. The original waistband amplifier, introduced in the late 1990s, ran on ordinary-sized rechargeable batteries a user could swap without tools. That serviceability has remained a core commitment for more than 25 years, across more than 50,000 users: replacement battery sets, microphones, cables, pads, and belts are all available as genuine parts, and the ELT Service Center in Nashville, Tennessee stands behind every unit. When you maintain a ChatterVOX instead of replacing it, you save money, keep a proven device in service, and keep electronics out of the landfill.
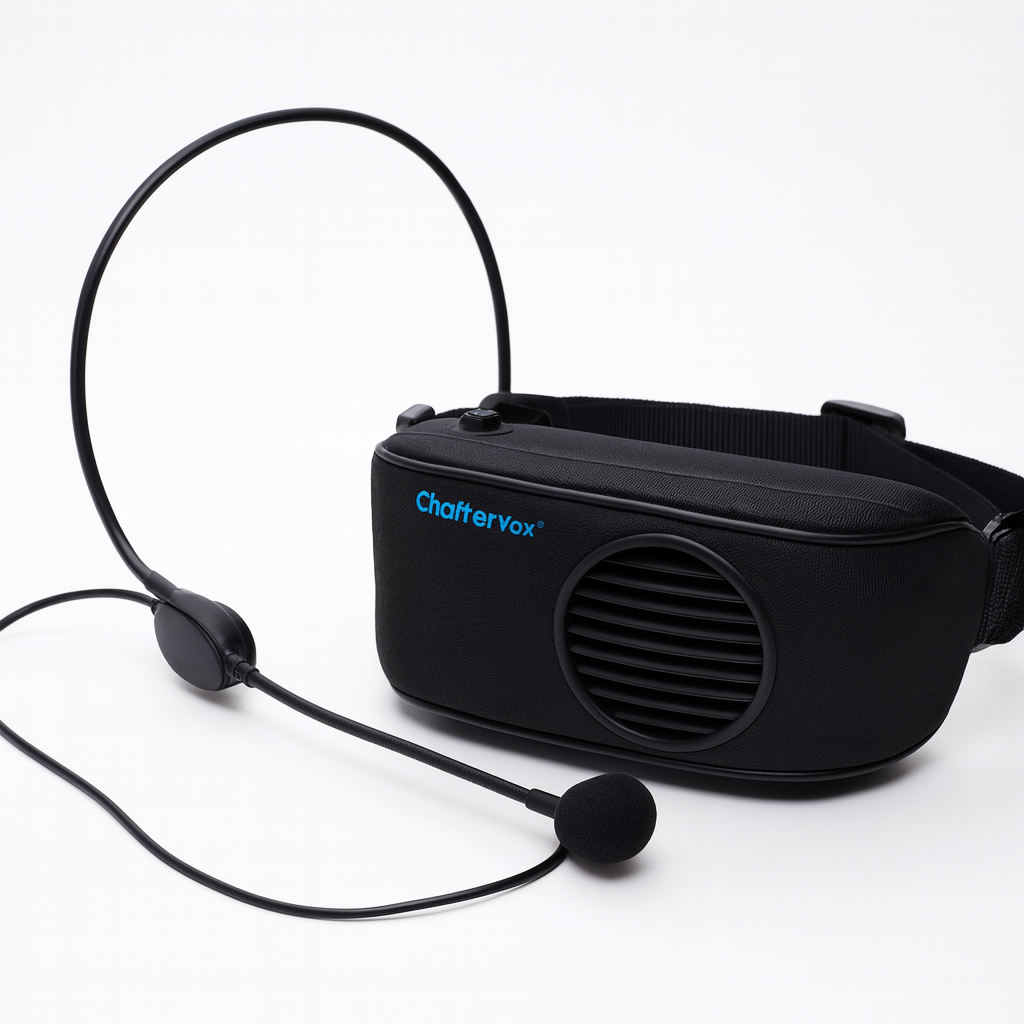
ChatterVOX Battery Care and Replacement
First, know your model — battery sets differ by generation
The single most important rule for ChatterVox battery replacement: confirm which model you own before ordering. Battery sets differ by model generation, and a set that fits one amplifier will not necessarily fit another.
- Classic waistband platform (including the ChatterVOX® Pro): runs on a set of rechargeable NiMH AA batteries, delivering up to 14 hours of amplification per charge. The whole system weighs about a pound. In a pinch, standard alkaline AA batteries work as a backup — a genuinely useful safety net no sealed-battery amplifier can offer.
- ChatterVOX® Model 6: the hip-worn coaching amplifier ships with four 2300mAh NiMH rechargeable batteries, sized for long outdoor sessions on the field or the trail.
- ChatterVOX® Amplio: the next-generation model, coming soon, is built around an all-day rechargeable battery. Full details will be announced on chattervox.store as it launches.
Not sure which generation you have? Check the label on the unit, compare against the model comparison guide, or simply contact us with a photo of your amplifier — the team will identify it and point you to the correct battery set.
Charging habits that extend battery life
NiMH rechargeable batteries are workhorses, and a few simple habits keep them performing for as long as possible:
- Charge fully before first use. New batteries arrive with a partial charge at best. Give them a complete charge before the first day of class, practice, or touring.
- Make overnight charging a routine. The easiest habit is the best one: plug the amplifier in at the end of each day so it starts every morning with a full charge. A teacher who charges overnight never discovers a dead amplifier during first period.
- Charge in a normal indoor environment. Avoid charging in a hot car, direct sun, or freezing storage rooms. Room temperature is where rechargeable batteries are happiest.
- Use the system regularly. Rechargeable batteries prefer regular cycles over months of sitting untouched. If the amplifier will be stored over a long break, charge it first and top it up when you return.
When is it time for a new battery set?
Rechargeable batteries are consumables — they are meant to be replaced, which is exactly why ChatterVOX makes them replaceable. The telltale sign is shrinking runtime: when a full overnight charge no longer carries you comfortably through the day the way it used to, the batteries have aged and a fresh genuine set will restore full-day performance. On the classic platform you can bridge the gap with alkaline AA backups while your replacement set is on the way, so you are never without your voice.
Charger Care
The charger is the least glamorous part of the system and the one most often abused. A few minutes of care prevents most charger problems:
- Use the charger supplied with your ChatterVOX. It is matched to the battery set in your model. The Model 6 even ships with an international-compatible charger for traveling coaches and tour operators.
- Pull the plug, not the cord. Most charger failures start at the cable ends. Grip the plug body when disconnecting, and avoid sharp bends where the cable meets the connector.
- Give it a home. A consistent charging spot — a desk drawer, a shelf by the door — means the charger is not being crushed in a bag or lost between rooms. Model 6 owners can use the included storage bag to keep the charger, batteries, and amplifier together.
- Inspect occasionally. If you see frayed insulation, a wobbly connector, or intermittent charging, stop using the charger and contact us about a genuine replacement rather than improvising with a mismatched substitute.
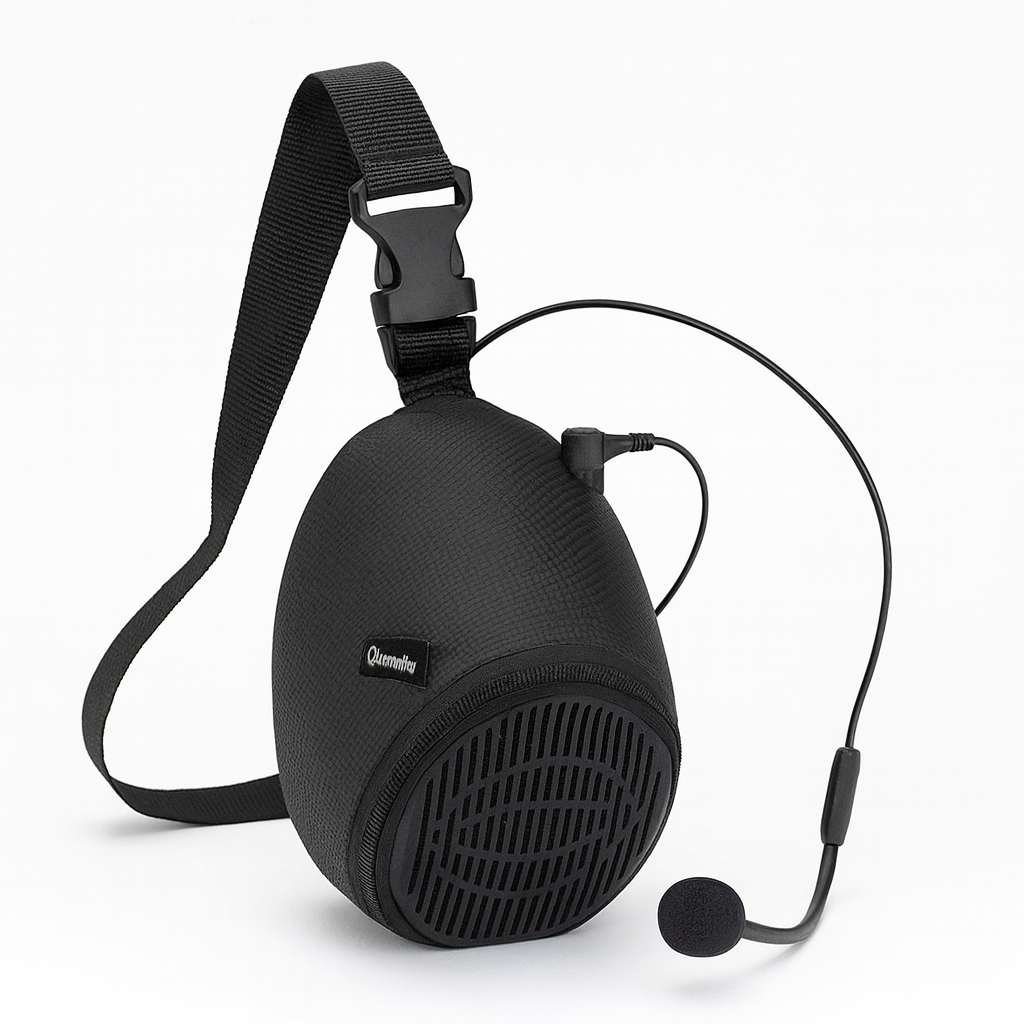
Microphone Care
The microphone is the most personal part of the system and the part that takes the most daily handling. Treat it well and it will outlast several battery sets.
Wear it correctly — it protects the mic and your sound
Position the headset boom at the corner of your mouth, never directly in front of it. Placing the mic in front of your lips puts it directly in the path of your breath, causing popping and breath noise on every plosive. At the corner of the mouth, the mic picks up your voice cleanly while staying out of the airstream. Pair that with the other golden rule — use the minimum volume you actually need — and you avoid feedback while getting the most natural sound. The full step-by-step is in the ChatterVOX setup guide.
Handling, storage, and replaceable parts
- Adjust the boom gently. The boom is designed to be positioned, not wrestled. Make small, smooth adjustments; never bend it aggressively or fold it back on itself.
- Coil the cable loosely. Tight wrapping around the amplifier strains the conductors inside. A loose coil in a bag or drawer keeps the cable healthy for years.
- Keep it dry and clean. Wipe the headset down after sweaty sessions. Model 6 users get extra protection here — its HM150 Series Sweatguard condenser headset microphone is built for exactly that environment.
- Replace wear items, not the whole mic. Official ChatterVOX microphones have replaceable cables and pads, so ordinary wear does not mean buying a whole new headset — another quiet advantage over sealed, disposable alternatives.
Microphone types at a glance
ChatterVOX systems support more than one way to mic your voice. The headset microphone is the classic choice — fully hands-free, consistent distance from your mouth, ideal for teachers and presenters. A collar-style microphone sits below the chin for users who prefer nothing on their head. A handheld microphone suits situations where the amplifier is shared or passed around. If you are unsure which style fits how you work, the Help Me Choose page walks you through it.
Genuine Parts vs. Third-Party Look-Alikes
When it is time for new batteries, a microphone, a cable, or a belt, order genuine ChatterVOX parts. This is not just brand loyalty — it is practical:
- Fit and compatibility. Genuine parts are matched to your model generation. Third-party batteries and mics of roughly similar shape may not fit, may not perform, and in the worst case can damage the amplifier.
- Sound quality. ChatterVOX microphones are purpose-built for natural speech — that is a large part of why the system sounds like you, only louder. A generic electret capsule wired to a similar plug rarely sounds the same.
- Warranty protection. Your amplifier and microphone carry a 1-year warranty from the date of purchase. Keeping the system genuine keeps your service path simple.
- A real supply chain. Because ChatterVOX has been in continuous production since 1998, genuine parts remain available long after generic amplifier brands have churned through another model cycle and abandoned last year’s design.
Counterfeit and look-alike listings do circulate on big marketplaces. If you are buying a system or parts and want to verify you are getting the real thing, run through the how to buy a real ChatterVOX checklist before you order.
Warranty and Service
Every ChatterVOX system includes a 1-year warranty covering the amplifier and the microphone from the date of purchase. Two habits make any future warranty claim painless:
- Keep your receipt. The warranty runs from the purchase date, so your proof of purchase is the key document. Snap a photo of it the day your system arrives and file it somewhere you will find it.
- Call before you ship. If something seems wrong — no power, distorted sound, an intermittent connection — contact the ELT Service Center at 800-286-3481 or reach out through the contact page first. Many issues (a battery set at end of life, a cable seated halfway, a mic positioned in front of the mouth) can be resolved in one conversation without shipping anything.
Out of warranty? Still call. Serviceability is the point of the platform: with genuine batteries, microphones, cables, and accessories available, most aging systems can be brought back to full duty for far less than the cost of a new amplifier.
Where to Get Official Parts and Help
Because ChatterVOX has been popular for decades, plenty of third-party sellers claim to offer compatible parts. For anything that touches your amplifier, go to the official sources:
- chattervox.store — the official online home of ChatterVOX®. Browse current systems in the shop, and send parts inquiries (batteries, microphones, chargers, cables, belts) through the contact page with your model name — the team will confirm the right part for your generation.
- ChatterVOX® at SchoolPHONES®, the authorized education retailer — the official channel for schools and districts, including purchase-order workflows for classroom deployments.
- ELT Service Center: 800-286-3481 — for warranty service, repairs, and technical questions.
The Extend-the-Life Checklist
Print this, tape it inside the storage bag, done:
- Charge fully before first use; charge overnight after each day of use.
- Confirm your model generation before ordering any battery set.
- Keep alkaline AAs on hand as an emergency backup (classic platform).
- Wear the mic boom at the corner of the mouth — never in front.
- Use the minimum volume you need; it prevents feedback and saves battery.
- Adjust the boom gently; never bend it hard.
- Coil cables loosely; unplug by the plug, not the cord.
- Wipe down the headset after sweaty or outdoor sessions.
- Store the system at room temperature, charged, in its bag.
- Keep your receipt; the 1-year warranty runs from the purchase date.
- Order genuine parts only — when in doubt, ask first.
Do those eleven things and there is a very good chance your ChatterVOX will still be amplifying clear, natural speech long after cheaper alternatives have come and gone. That is what a quarter century of purpose-built design buys you.
FAQ
How long does a ChatterVox battery last?
On the classic waistband platform, a fully charged set of rechargeable NiMH AA batteries delivers up to 14 hours of amplification per charge — a full teaching or touring day with room to spare. The Model 6 coaching amplifier runs on four 2300mAh NiMH rechargeable batteries sized for long outdoor sessions. As with all rechargeables, capacity gradually declines with age: when an overnight charge no longer gets you through the day, it is time for a fresh genuine battery set.
Can I replace the batteries myself?
Yes — user-replaceable batteries have been a core ChatterVOX design feature since 1998. Swapping a battery set requires no tools or technical skill. The one critical step is ordering the correct set: battery sets differ by model generation, so confirm exactly which ChatterVOX you own (or send a photo through the contact page) before ordering. On the classic platform, standard alkaline AA batteries also work as a temporary backup.
What warranty does ChatterVox have?
Every ChatterVOX system carries a 1-year warranty on the amplifier and microphone from the date of purchase. Keep your receipt, since the warranty runs from that date. For warranty service or troubleshooting, call the ELT Service Center at 800-286-3481 or reach out through the contact page at chattervox.store.
Where do I get a replacement microphone?
Order genuine replacement microphones, cables, and pads through chattervox.store, the official online home of ChatterVOX — send a parts inquiry via the contact page with your model name and the team will confirm the correct microphone for your generation. Schools and districts can also purchase through SchoolPHONES, the authorized education retailer. Avoid third-party look-alike mics: they often fit poorly and rarely match the natural speech quality of the genuine headset.
Where can I find the ChatterVox manual?
Reach out through the official store’s contact page with your model name, and the team will get you the documentation for your unit. For day-to-day use — wearing the system, positioning the microphone at the corner of your mouth, setting volume, and charging — the step-by-step ChatterVOX setup guide covers everything most users need.



Leave a Reply